

1. Click the Vendor module from the main menu bar.
2. Select the Vendor from the search results. The Demographics - General page is displayed.
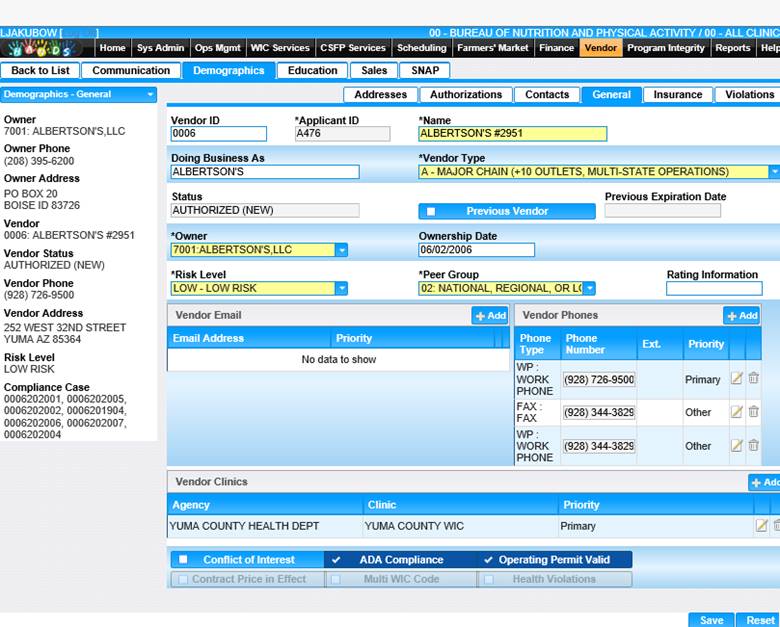
3. The page will display all the information entered on the Add Vendor page. You can edit certain Vendor information or add additional Email, Phone, and Clinics to the Vendor.
4. Click the Add button within the Vendor Email section. The Add Email window displays.
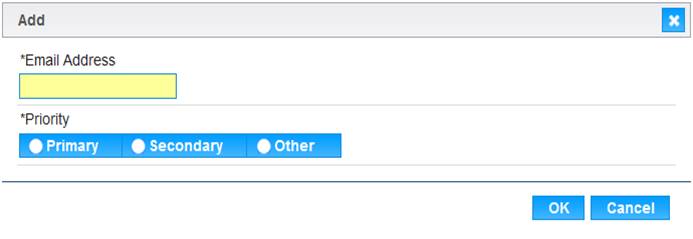
5. Enter the email address and select the Priority.
6. To retain the email information, click the OK button.
7. To discard the email information, click the Cancel button.
8. The email information entered will display in the Vendor Email grid.
9. To add additional phone numbers, click the Add button within the Vendor Phones section. The Add window displays.
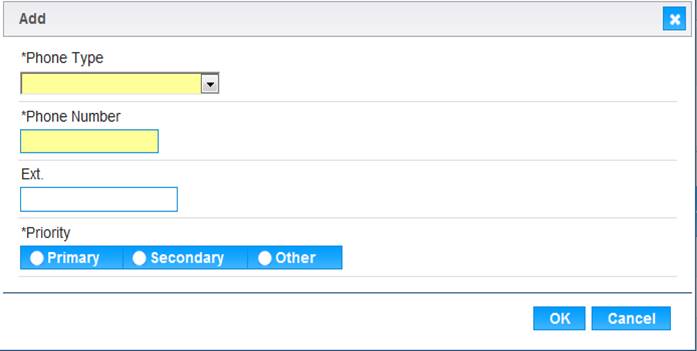
10. Select the Phone Type, enter the Phone number and select a Priority. Click the OK button.
11. The phone information entered will display in the Vendor Phones grid.
12. To add Vendor Clinics, click the Add button within the Vendor Clinics section. The Add window displays.
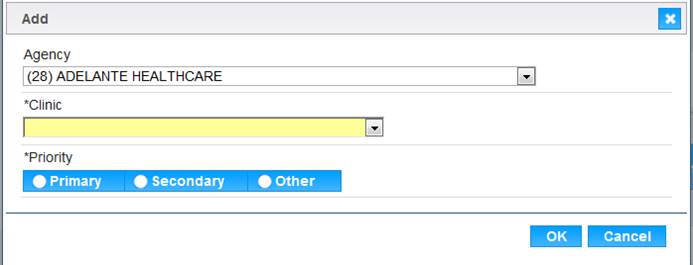
13. Select the Agency, Clinic, and Priority.
14. To retain the Agency, Clinic information, click the OK button.
15. To discard the Agency, Clinic information, click the Cancel button.
16. The clinic information entered will display in the Vendor Clinics grid.
17. To discard information entered, click the Reset button at the bottom of the page.
18. To save the information entered, click the Save button at the bottom of the page.