

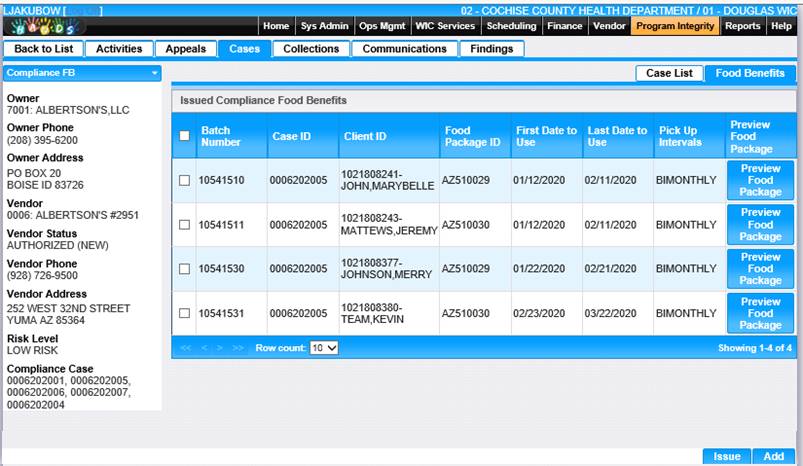
Compliance food benefits can be created and issued from the Food Benefits tab on the Cases screen.
Access the Food Benefits screen by selecting the Cases tab from the task menu, then the Food Benefits tab on the Cases screen.
All existing compliance food benefits (Benefit Type Paper Check) are displayed when the screen opens.
To create a new compliance food benefit - Benefit Type eWIC
1. Click Add. The Add Compliance Food Benefit screen is displayed.
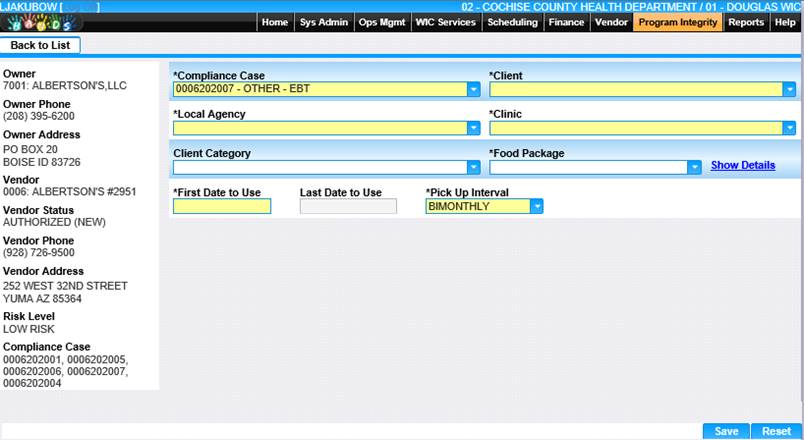
1. All fields on this page with the exception of Last Date to Use, and Client Category are required. Enter information for all the required fields.
2. Select food package from drop-down menu.
3. Show Details link displays for Benefit Type eWIC. Select Show Details to view Food Package Details after the food package has been selected.
4. Select the First Date to Use. The Last Date to Use is auto-populated based on the First Date to Use.
5. Click the Save button. The client will display in the Issued Compliance Food Benefits grid.
To create a new compliance food benefit - Benefit Type Paper Check
1. Click Add. The Add Compliance Food Benefit screen is displayed.
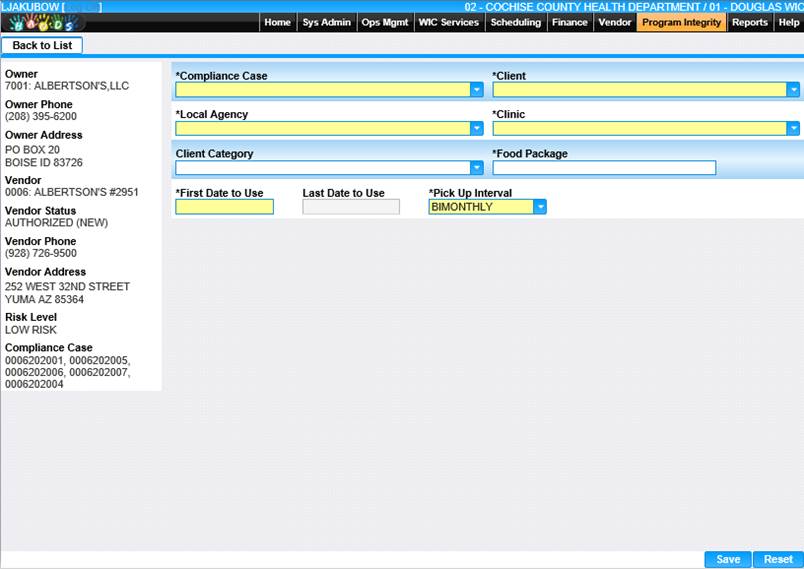
2. All fields on this page with the exception of Last Date to Use are required. Enter information for all the required fields.
3. When entering a food package, begin typing the food package name and HANDS will display a list of matching packages. Select the desired package from the list.
4. Select the First Date to Use. The Last Date to Use is auto-populated based on the First Date to Use.
5. Click the Save button. The client will display in the Issued Compliance Food Benefits grid.