

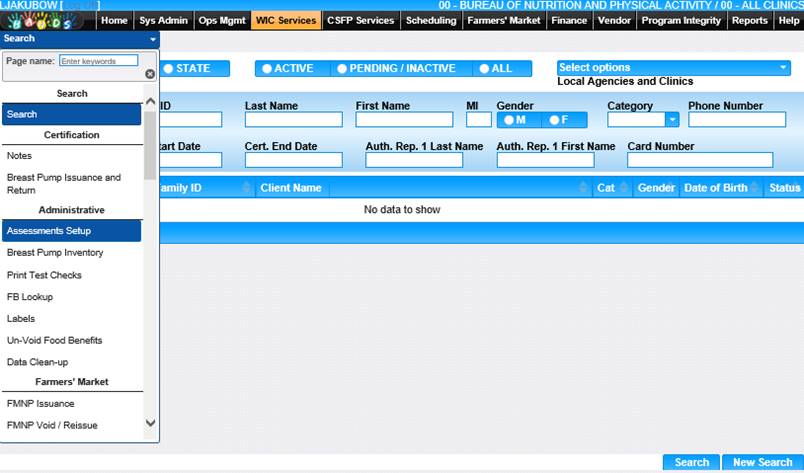
The Assessments Setup page is where the user can create the information displayed on the Assessments page in the WIC Services module. Topics, Probing Questions, and Standard Questions can be added as well as designating what order each section will be displayed.
From the home page in HANDS click on WIC Services on the main menu bar. Click on the navigation pick list menu drop-down list to view the different pages within the Administrative section. The Assessment page displays.
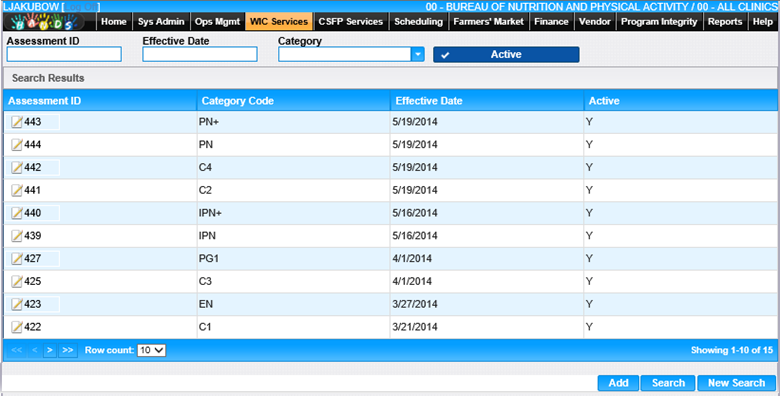
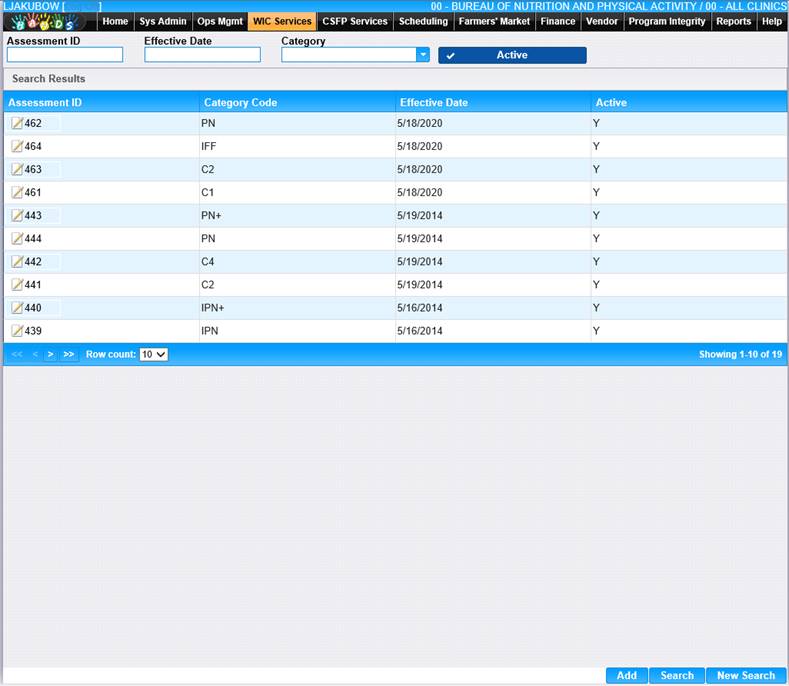
1. The user can search for a particular assessment by entering search criteria and clicking the Search button at the bottom of the page.
2. The user can also scroll through the pages to find an assessment to view.
3. The user can uncheck the Active check box and click Search button to search for assessments that are not active.
Add an Assessment
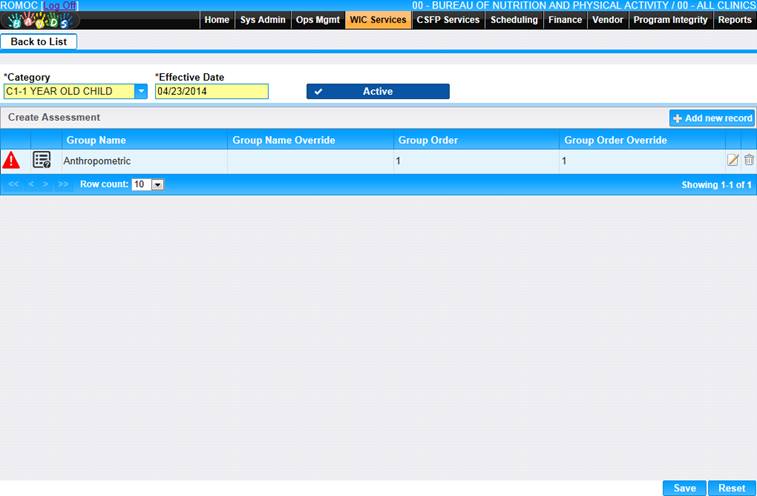
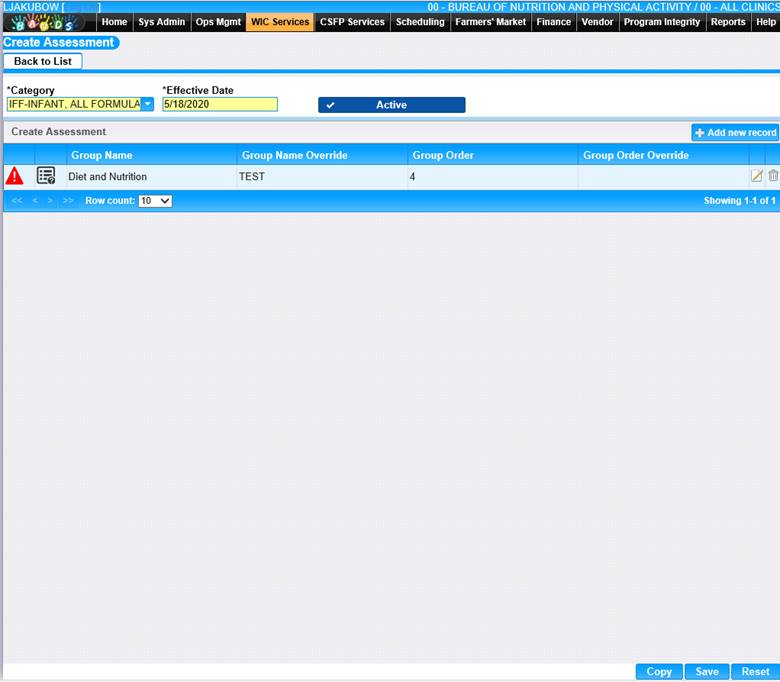
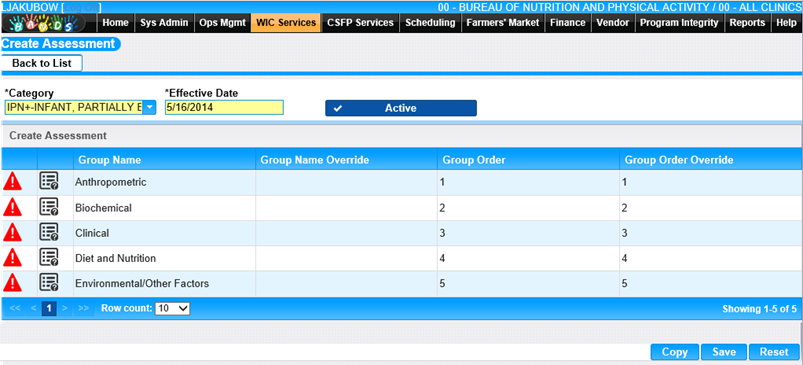
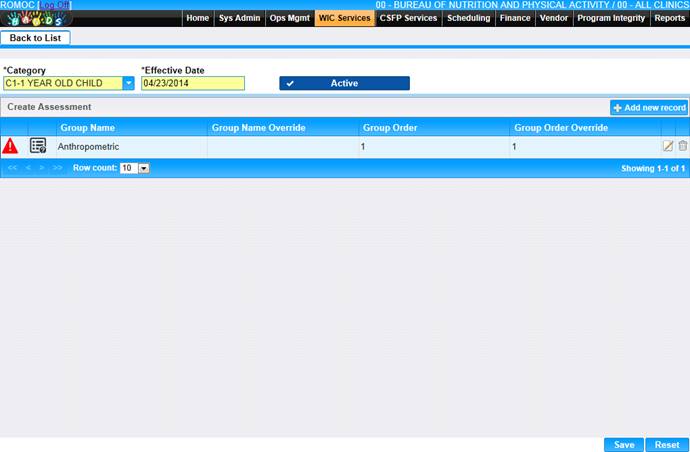
1. Click the Add button at the bottom of the page. The Add Assessment page is displayed.
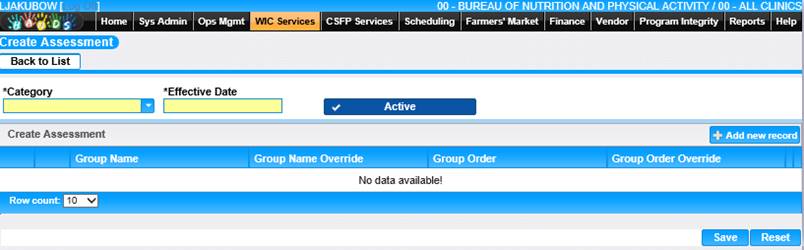
2. Select the Category for the assessment and enter the Effective Date. If there is another Assessment for the same Category, the newly created assessment will be the active assessment on the Effective Date entered, even if the other assessment is not made inactive.
3. The Active check box is automatically selected to make the record active. Uncheck the check box if the user does not wish for the assessment record to be active.
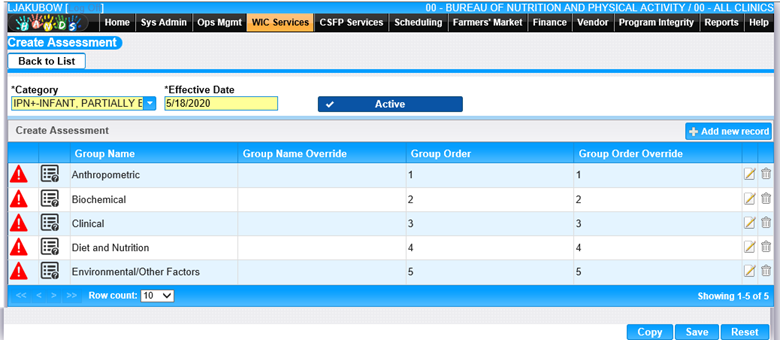
4. Click the Add new record button in the Create Assessment section. The Add new record window displays.
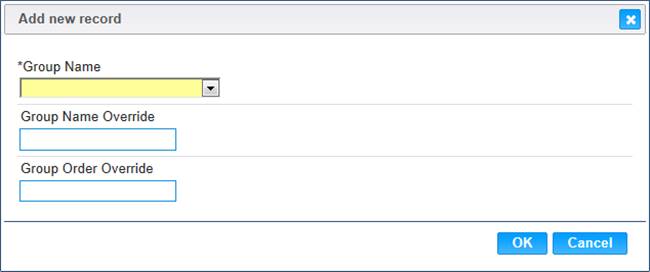
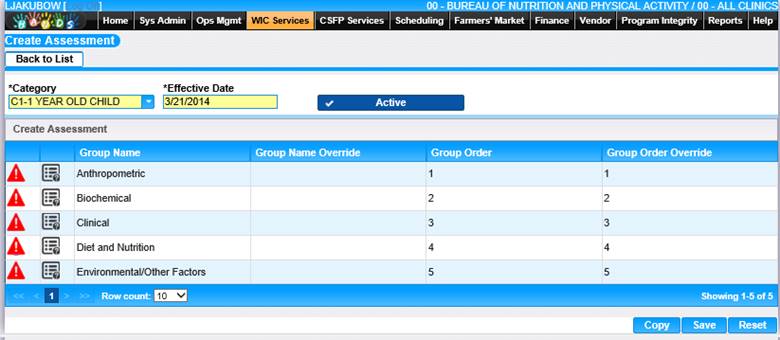
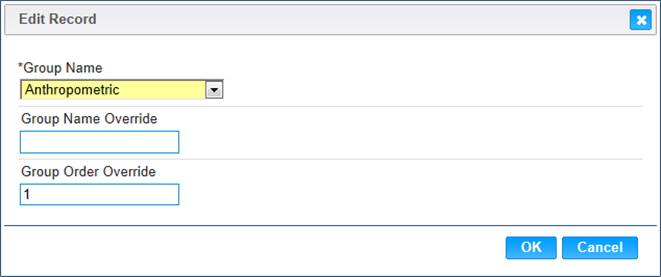
5. Select the Group Name from the drop-down list.
6. The Group Name Override field can be filled in if the user wants their group to display a different name on the Assessment page.
7. The Group Order Override field can be filled out to order the user’s groups on the Assessment page. For example, enter a 1 in the field to have that group display first.
8. To discard the information and close the window, click Cancel button.
9. To keep the information, click OK button. The Group will display in the Create Assessment grid. Repeat this process until the user has added all desired Groups.
10. To keep assessment/changes, click the Save button at the bottom of the page.
11. To discard unsaved changes, click the Reset button at the bottom of the page.
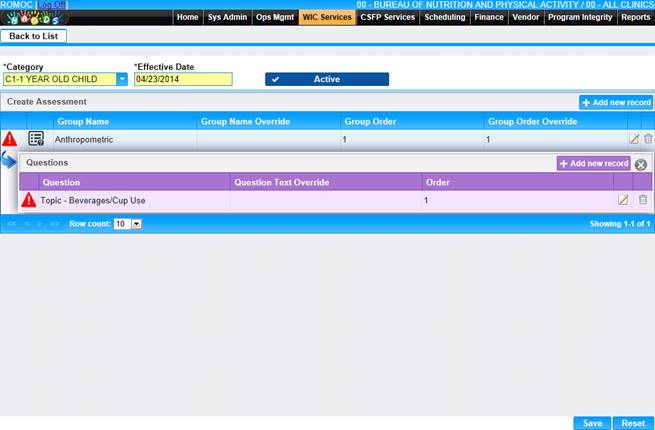
12. To add questions to the Group, click the questions icon to the left of the Group Name on the grid. The Questions grid will display.
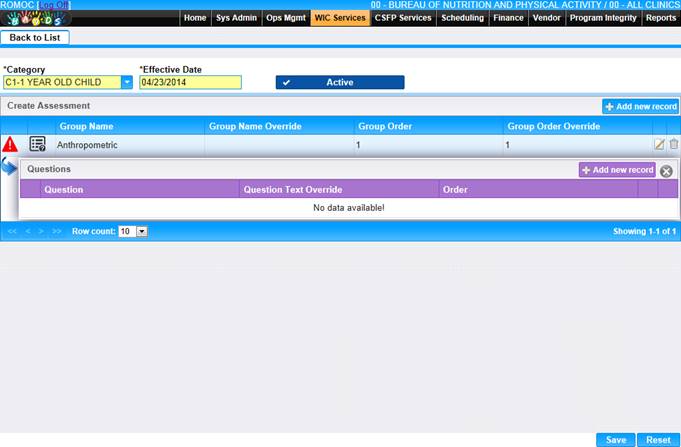
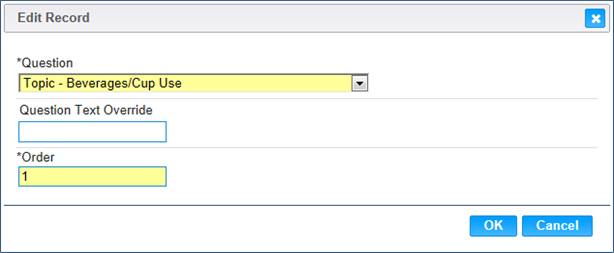
13. Click the Add new record button in the Questions section. The Add new record window displays.
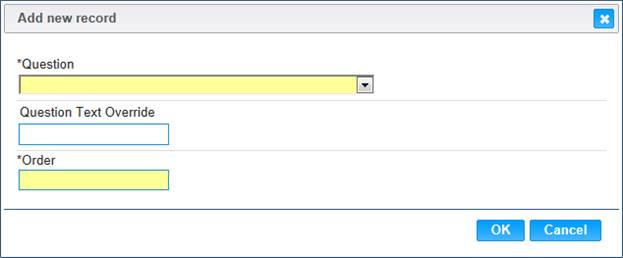
14. Select a Question from the drop-down list.
15. The Question Text Override field can be filled in if the user wants their question to display different text on the Assessment page.
16. The Order field is used to order the user’s questions within the group on the Assessment page. For example, enter a 1 in the field to have that question display first.
17. To discard the information, click Cancel button.
18. To keep the information, click OK button. The Question will display in the Questions grid.

19. Repeat the steps to add questions until all the questions for the selected Group are completed.
20. To discard information, click the Reset button at the bottom of the page.
21. To Save information entered, click the Save button at the bottom of the page.
Edit an Assessment
The user can only edit an Assessment if the assessment has not been tied to a client in HANDS. Once the Assessment has been activated and used for a client, you will have to create a new Assessment to make changes.
1. Select Assessments Setup from the navigation drop-down in the WIC Services module. The Search page is displayed with the existing active Assessments displayed in the grid.
2. The uses can search for a particular assessment by entering search criteria and clicking the Search button at the bottom of the page or scroll through the pages to find the assessment they are looking for.
3. Click on the link in the Assessment ID field for the record the user wants to edit The Assessment page displays.
4. To edit a Group, click the edit icon for the record you want to edit. The Edit Record window displays.
5. Update the appropriate data in the edit window.
6. To discard changes, click the Cancel button.
7. To keep changes, click the OK button.
8. To keep changes, click the Save button at the bottom of the page.
9. To edit the Questions within a Group, click the Questions icon to the left of the Group Name in the grid. The Questions grid for that Group will display.
10. To edit, click the edit icon for the record you want to edit. The Edit Record window displays.
11. Update the appropriate data in the edit window.
12. To discard changes, click the Cancel button.
13. To keep changes, click the OK button.
14. To keep changes, click the Save button at the bottom of the page.
Copy an Assessment
The user can only copy an assessment where the Effective Date does not match the current date.
1. Select Assessment Id where Effective Date does not equal current date.
2. To copy assessment, click the Copy button.
3. Assessment copied successfully message displays new Assessment ID displays in grid with Effective Date as current date.
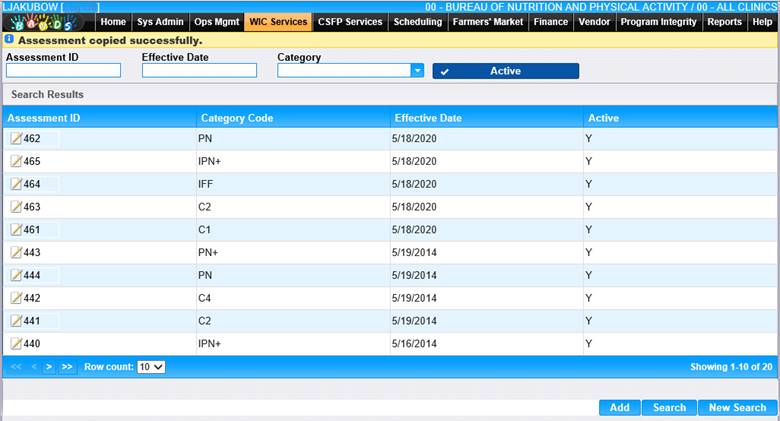
4. Click Assessment ID in grid. Copied information displays.
Delete Groups or Questions in an Assessment
The user cannot delete an assessment, groups in an assessment, or questions in an assessment once it has been used for a client in HANDS. You can make it inactive by deselecting the Active check box. If the assessment has not been used for a client, you can delete groups and questions.
1. To delete a Group, click the delete icon for the record you want to delete. The delete confirmation window displays.
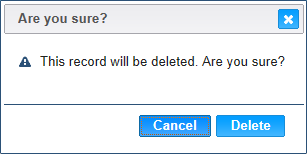
2. To cancel the delete process, click the Cancel button.
3. To delete the record, click the Delete button.
4. To keep changes, click the Save button on the Assessment page.
5. To delete a Question within a Group, click the Questions icon to the left of the Group Name in the grid. The Questions grid for that Group will display.
6. Click the delete icon for the record you want to delete. The delete confirmation window displays.
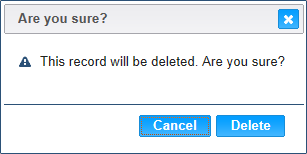
7. To cancel the delete process, click the Cancel button.
8. To delete the record, click the Delete button.
9. To keep changes, click the Save button on the Assessment page.