

• Go to the Certification Action Page and Click the New Cert Button.
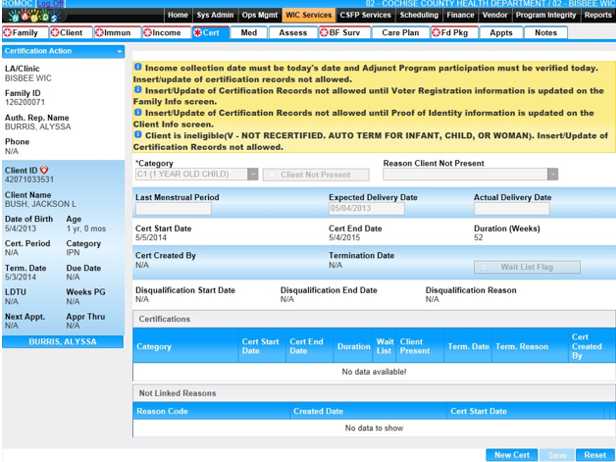
Module 9: Figure 1: Certification Action page
• After clicking the New Cert button on the Certification Action Page, the messages at the top of the screen let the user know what will need to be completed to recertify the client. See Module 9: Figure 1 above.
These messages include:
• Income Collection Date must be today's date and Adjunct Program participation verified.
• The update of Certification Records may not proceed without Voter Registration information being updated on the Family Information Screen.
The update of Certification Records is not allowed without the Proof of Identity information being updated on the Client Information Screen. See Module 9: Figure 2 below.
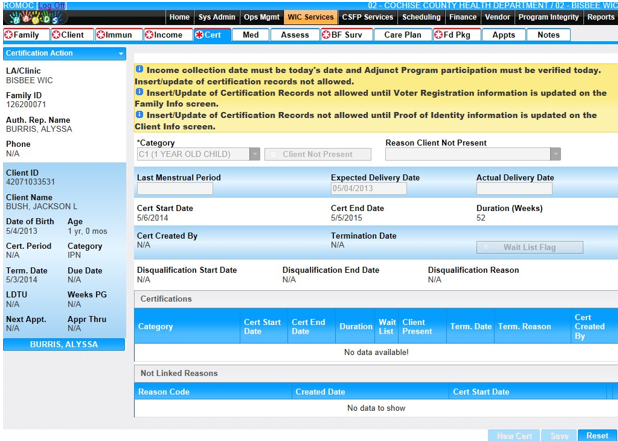
Module 9: Figure 2: Certification Action New Cert page
• Go to the Family Information Page. See Module 9: Figure 3 below.
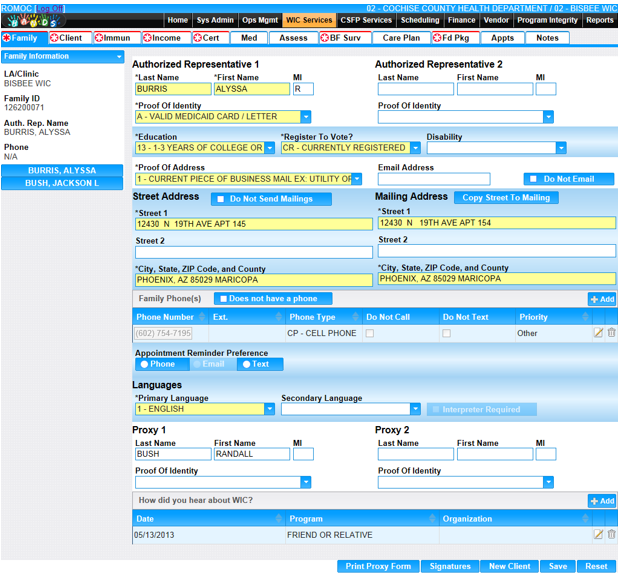
Module 9: Figure 3: Family Information page
• Update and verify the Voter Registration.
• Update any other information on the Family page if required and click Save.
• From the Certification Workflow, click on the Client Information Page tab. See Module 9: Figure 4 below.
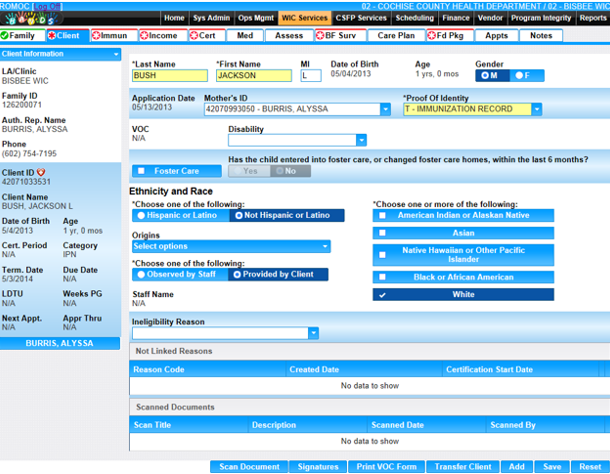
Module 9: Figure 4: Client Information page
• Verify and Update Proof of Identity.
• Update any other information on the Client Information page if required.
• Click Save.
• If applicable, click on the Immunization tab at the top of the page. See Module 9: Figure 5 below.
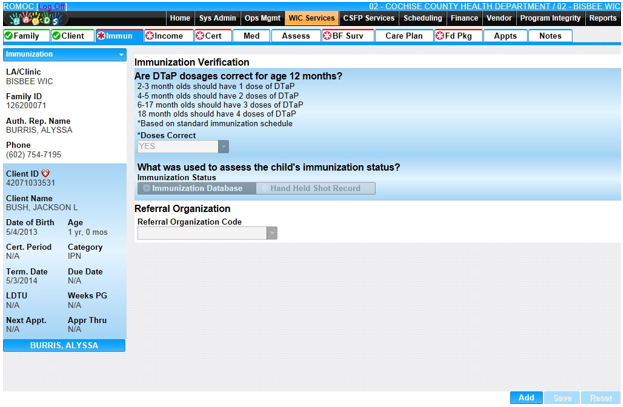
Module 9: Figure 5: Immunization page
• Click the Add button to add a new immunization record.
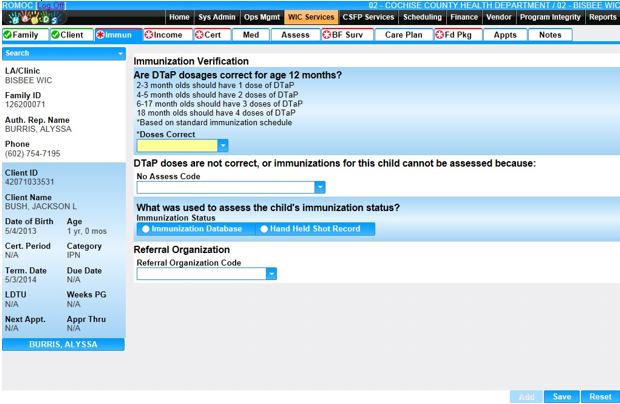
Module 9: Figure 6: Add New Immunization page
• Enter information, click Save. See Module 9: Figure 6 above.
• Click on the Income tab at the top of the page. See Module 9: Figure 7 below.

Module 9: Figure 7: Income page
• Click the New Household Income button to enter a new income and/or verify Adjunct Eligibility. See Module 9: Figure 8 below.
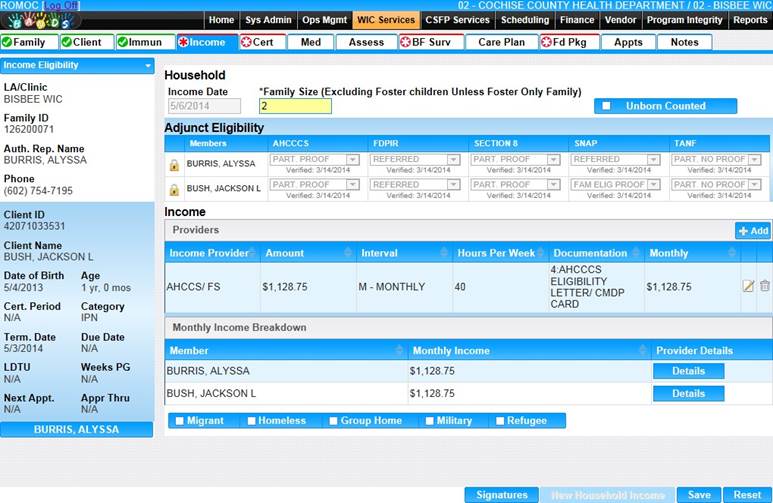
Module 9: Figure 8: New Household Income page
• After the income/adjunct eligibility information is entered, click Save.
• Click on the Cert tab at the top of the page. See Module 9: Figure 9 below.
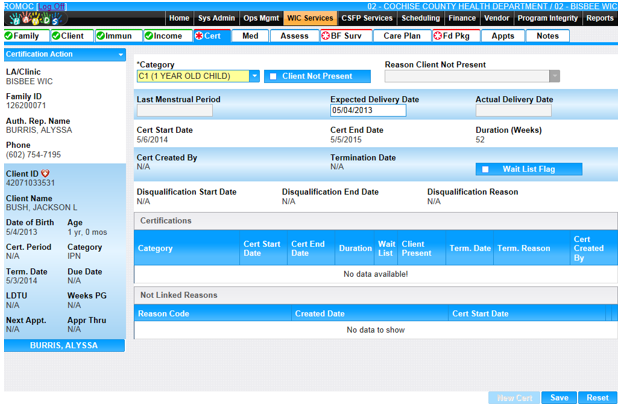
Module 9: Figure 9: Certification Action page
• After the Certification Action page has been completed, click Save. See Module 9: Figure 10 below.
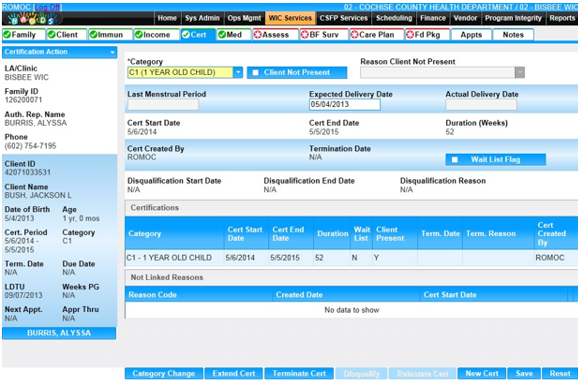
Module 9: Figure 10: Saved Certification Action page
• Click on the Medical tab at the top of the page. See Module 9: Figure 11 below.
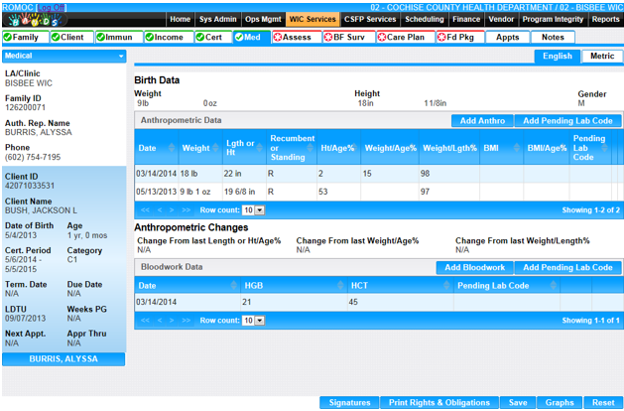
Module 9: Figure 11: Medical page
• Anthropometric data must be entered on the date of certification. Once all Medical data is entered, click Save. See Module 9: Figure 12 below.
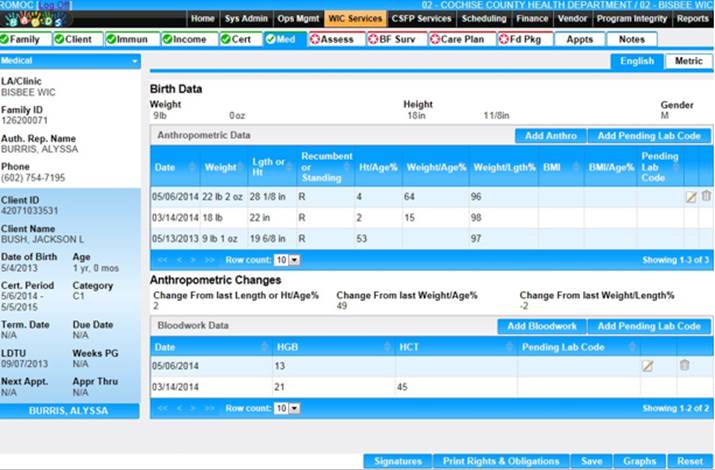
Module 9: Figure 12: Add New Medical page
• Click on the Assess (Assessment) tab at the top of the page. See Module 9: Figure 13 below.
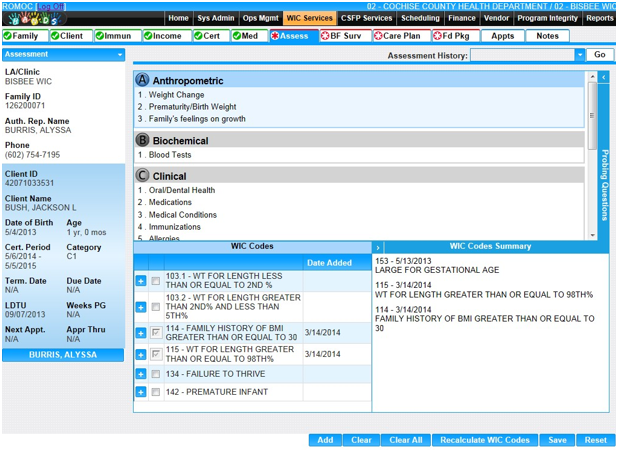
Module 9: Figure 13: Assessment page
• Complete the Assessment for each client that is being re certified.
• Click Save.
• If applicable, click the BF Surv (Breastfeeding Surveillance) tab at the top of the page. See Module 9: Figure 14 below.
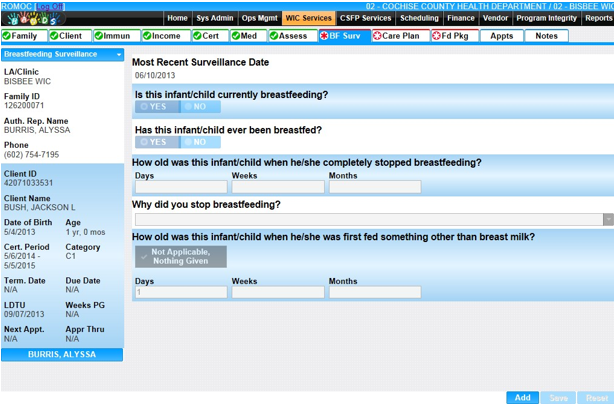
Module 9: Figure 14: BF Surv page
• The previous breastfeeding surveillance record will display on the page. Click Add to add a new record. See Module 9: Figure 15 below.
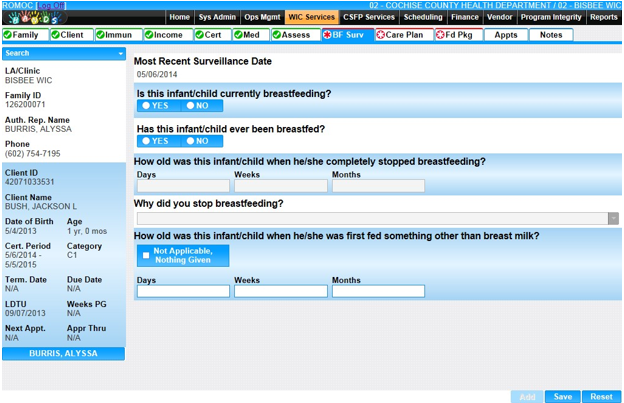
Module 9: Figure 15: Add New BF Surv page
• Enter information for Breastfeeding Surveillance record.
• Click Save
• Click on the Care Plan tab at the top of the page See Module 9: Figure 16 below.
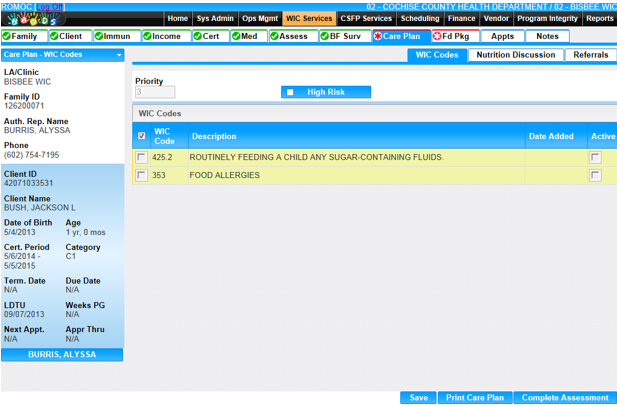
Module 9: Figure 16: Care Plan page
• Add Nutrition Discussion or Referrals if applicable. See Module 9: Figures 17 and 18 below.
Nutrition Discussion:
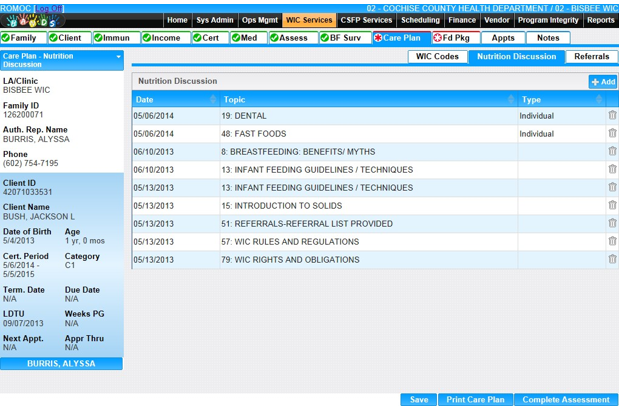
Module 9: Figure 17: Nutrition Discussion page
Referrals:
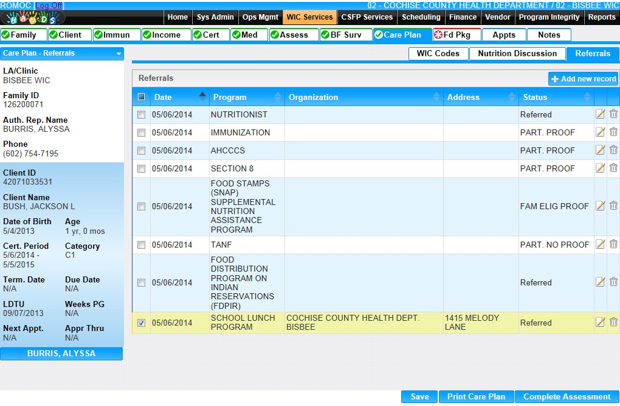
Module 9: Figure 18: Referrals page
• After all information is entered, click the Complete Assessment button. See Module 9: Figure 19 below.
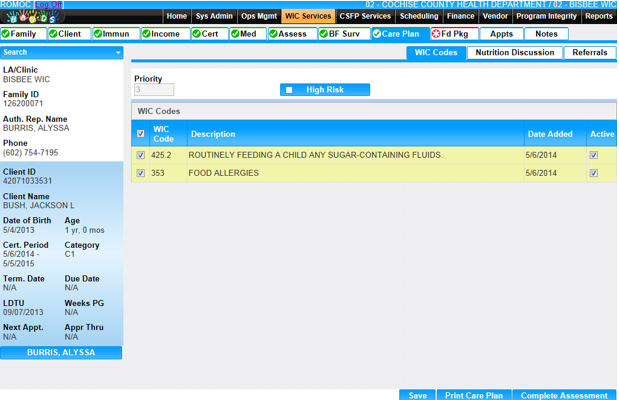
Module 9: Figure 19: Complete Assessment